Welcome to a quick guide on easy DIY techniques for chair repairs! In this article, you will learn simple and practical solutions for fixing common issues with chairs, such as wobbly legs, loose screws, and torn upholstery. With just a few tools and a little bit of know-how, you’ll be able to give your favorite chair a new lease on life in no time. So roll up your sleeves, grab your toolbox, and get ready to tackle those chair repairs head-on! Have you ever found a chair in need of repair and wished you could fix it yourself? With these easy DIY techniques for chair repairs, you can save money and give new life to old furniture. Whether it’s a wobbly leg, a loose seat, or a broken back, you’ll be amazed at how simple it can be to fix common chair issues on your own. So roll up your sleeves, grab your tools, and let’s get started!

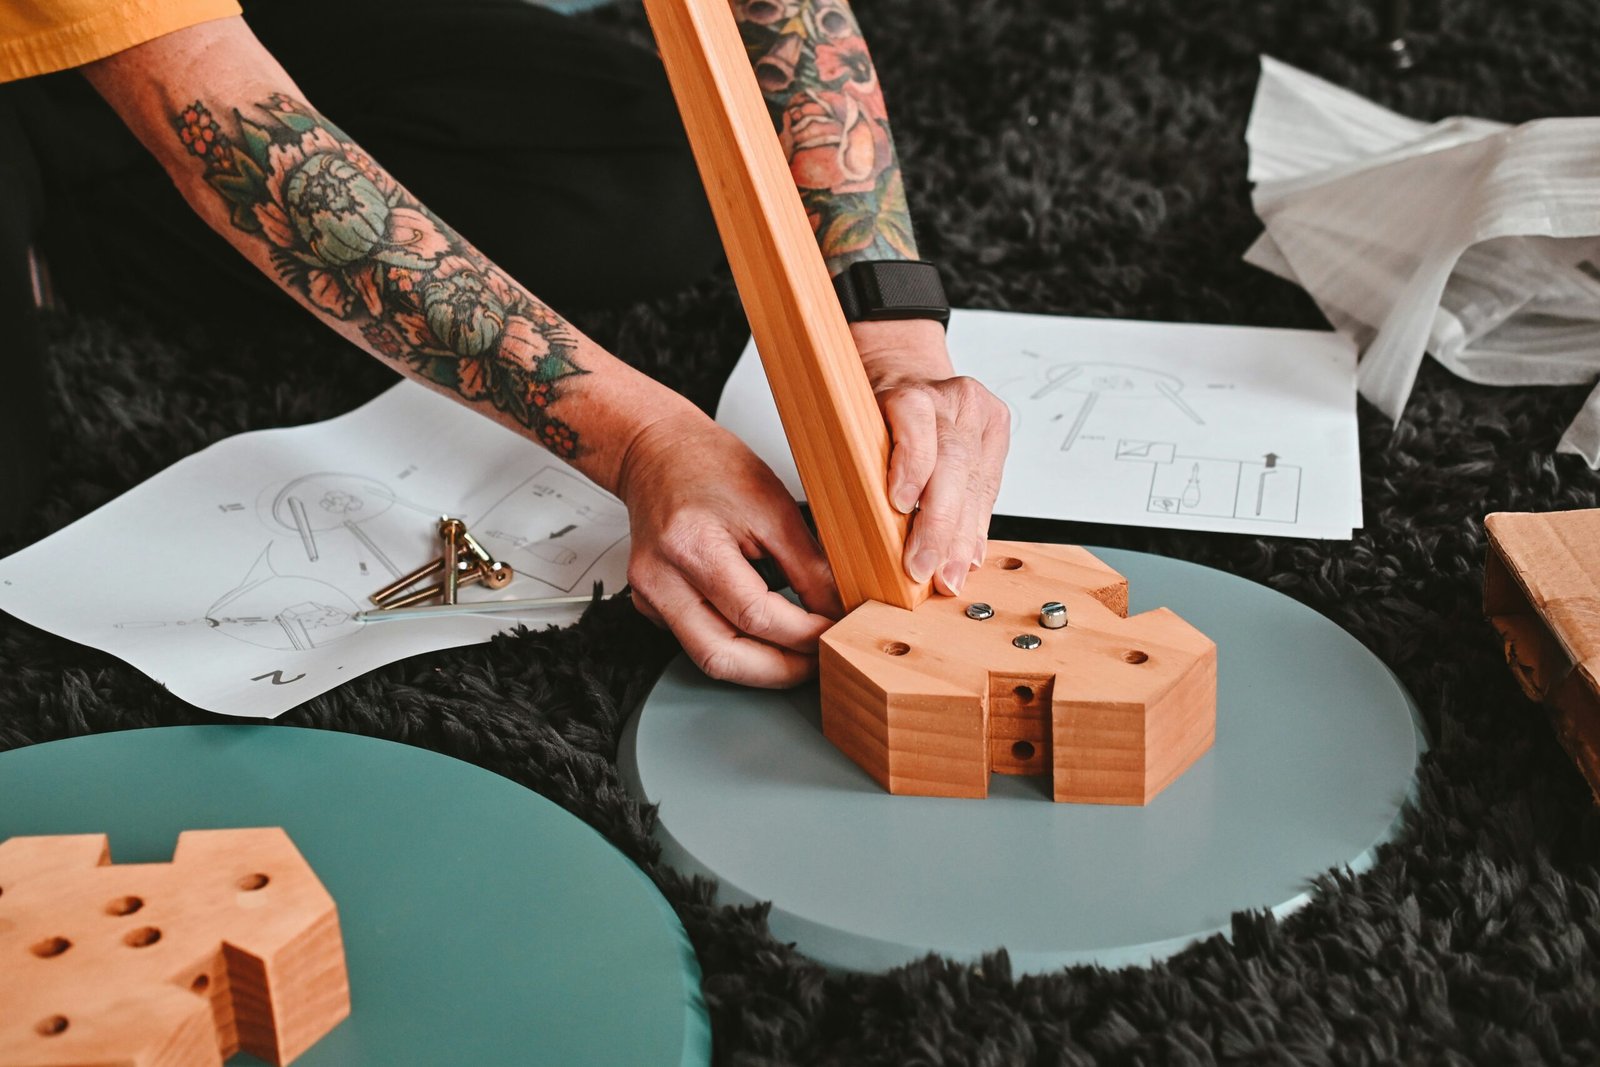
This image is property of images.unsplash.com.
Assessing the Damage
Before you can begin repairing a chair, it’s important to assess the extent of the damage. Take a close look at the chair and identify any issues that need to be addressed. Are there loose joints or screws? Is a leg wobbly? Does the seat need to be reupholstered? By taking the time to examine the chair thoroughly, you’ll have a better idea of what needs to be fixed.
Looking for Loose Joints
Start by checking the joints of the chair for any signs of looseness. This is a common issue that can cause the chair to wobble or feel unstable. Grab each leg and try to move it back and forth – if there is any movement, the joint may need to be tightened or re-glued. Loose joints can often be fixed by applying wood glue and clamping the joint until it dries.
Checking for Wobbly Legs
Wobbly legs are another common problem with chairs. To check for wobbly legs, sit in the chair and see if it rocks from side to side. If it does, the legs may need to be reinforced or adjusted. You can add shims or extra screws to stabilize the legs and prevent wobbling. Make sure to test the chair after making adjustments to ensure it is stable.
Assessing the Seat
If the chair seat feels saggy or uncomfortable, it may need to be reupholstered or reinforced. Check the underside of the seat for any broken or loose springs, foam, or webbing. You can add extra padding or replace the existing materials to improve the comfort and support of the seat. Reupholstering a chair seat is a simple DIY project that can make a big difference in its appearance and usability.
Tools and Materials
To successfully repair a chair, you’ll need a few basic tools and materials. These items can be found at your local hardware store or online and are essential for completing most chair repair projects. Here are some common tools and materials you may need:
| Tools | Materials |
|---|---|
| Screwdriver | Wood glue |
| Hammer | Sandpaper |
| Pliers | Upholstery fabric |
| Clamps | Foam padding |
| Drill | Tacks and staples |
Choosing the Right Tools
Having the right tools for the job is crucial when it comes to chair repairs. A basic toolkit with screwdrivers, pliers, and a hammer is essential for most projects. A drill can be useful for making new holes or securing screws in place. Clamps are handy for holding pieces together while glue dries, and sandpaper can be used to smooth out rough edges. Invest in quality tools that will last for multiple projects and make repairs easier.
Selecting Materials
The type of materials you’ll need for chair repairs will depend on the specific issues you’re addressing. Wood glue is a must-have for fixing loose joints, while sandpaper can help smooth out rough spots before refinishing. Upholstery fabric and foam padding are essential for reupholstering a chair seat, and tacks and staples can be used to secure the fabric in place. Make sure to choose materials that are durable and suitable for the job at hand.

This image is property of images.unsplash.com.
Repairing Loose Joints
One of the most common chair repair issues is loose joints. Over time, the glue or screws holding the chair together can weaken, causing the joints to become loose and unstable. Fortunately, fixing loose joints is a relatively simple DIY project that can be done with basic tools and materials. Here’s how to repair loose joints in a chair:
Step 1: Remove Old Glue
Start by removing any old glue or debris from the joint using a screwdriver or chisel. Clean the surfaces thoroughly to ensure a strong bond when re-gluing the joint.
Step 2: Apply Wood Glue
Apply a generous amount of wood glue to both sides of the joint. Make sure to spread the glue evenly and cover the entire surface for maximum adhesion.
Step 3: Clamp the Joint
Carefully fit the joint back together and use clamps to hold it in place while the glue dries. Wipe away any excess glue with a damp cloth to prevent messiness.
Step 4: Let it Dry
Allow the glue to dry completely according to the manufacturer’s instructions. Once the glue has cured, remove the clamps and test the joint for stability.
Step 5: Reinforce if Necessary
If the joint is still loose after gluing, you may need to add additional screws or brackets for reinforcement. This will help strengthen the joint and prevent future issues.
Fixing Wobbly Legs
Wobbly legs are another common problem with chairs that can be easily fixed with a few simple steps. Whether the legs are loose or uneven, there are several DIY techniques you can use to stabilize them and prevent rocking. Try the following methods to fix wobbly legs on a chair:
Shimming the Legs
One effective way to stabilize wobbly legs is by shimming them with small pieces of wood or plastic. Simply insert the shims between the leg and the seat frame to fill any gaps and create a snug fit.
Adding Braces
For chairs with multiple legs or a complex frame, adding braces can help reinforce the structure and prevent wobbling. Use metal brackets or wooden blocks to connect the legs and provide additional support.
Tightening Screws
Check the screws and bolts on the chair legs to make sure they are secure. Use a screwdriver or drill to tighten any loose screws and prevent the legs from wobbling. Be careful not to over-tighten, as this can strip the screws or damage the wood.
Leveling Uneven Legs
If the chair legs are uneven or too short, you can use furniture glides or adjustable feet to level them out. These small accessories can be attached to the bottom of the legs to stabilize the chair and prevent wobbling on uneven surfaces.

This image is property of images.unsplash.com.
Reupholstering a Chair Seat
If the seat of the chair is worn, torn, or uncomfortable, reupholstering it can give the chair a fresh new look and improved comfort. Reupholstering a chair seat is a beginner-friendly DIY project that only requires a few basic tools and materials. Follow these steps to reupholster a chair seat:
Step 1: Remove the Old Upholstery
Carefully remove the existing fabric, padding, and staples from the chair seat using a flathead screwdriver or pliers. Take note of the order and orientation of the layers for reference.
Step 2: Cut New Fabric and Padding
Using the old fabric as a template, cut a piece of new upholstery fabric to fit the dimensions of the chair seat. Cut a piece of foam padding to the same size to add cushioning and support.
Step 3: Attach the Fabric and Padding
Place the foam padding on the chair seat and cover it with the new fabric, making sure it is centered and taut. Use a staple gun to secure the fabric along the edges of the seat, pulling it tight as you go.
Step 4: Trim the Excess Fabric
Trim any excess fabric from the edges of the seat with scissors, leaving enough to fold under for a clean finish. Fold the fabric over the edges of the seat and secure it with additional staples.
Step 5: Reattach the Seat
Once the fabric is in place and securely stapled, reattach the seat to the chair frame using screws or bolts. Make sure the seat is centered and level before tightening the fasteners.
Maintaining Your Repaired Chair
After you’ve successfully repaired and restored your chair, it’s important to maintain it properly to ensure its longevity and functionality. Regular cleaning, inspection, and care can help prevent future issues and keep your chair looking and performing its best. Here are some tips for maintaining your repaired chair:
Cleaning and Dusting
Regularly clean and dust your repaired chair to remove dirt, debris, and dust that can accumulate over time. Use a soft, damp cloth to wipe down the surfaces and gently vacuum any crevices or upholstery to keep it looking fresh.
Checking for Loose Parts
Periodically check the chair for loose joints, screws, or legs that may need to be tightened or repaired. Address any issues as soon as you notice them to prevent further damage or instability.
Avoiding Excessive Weight
Try to avoid putting excessive weight or pressure on the chair to prevent stress on the joints and legs. Use caution when moving or sitting in the chair to avoid unnecessary strain on the frame and components.
Refinishing as Needed
If the chair starts to show signs of wear or damage, consider refinishing or repainting it to restore its appearance. Sand down rough patches, apply a fresh coat of paint or finish, and add any necessary touch-ups to keep the chair looking like new.
Conclusion
Repairing a chair doesn’t have to be a daunting task – with the right tools, materials, and techniques, you can easily tackle common issues and give new life to old furniture. By following these easy DIY techniques for chair repairs, you can save money, learn valuable skills, and enjoy the satisfaction of fixing things yourself. So the next time you come across a chair in need of repair, don’t hesitate to roll up your sleeves and get started – you’ll be amazed at what you can accomplish!